|
Let me show how a side table is made.
|
|
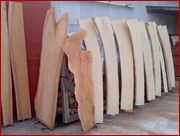
First dry the wood.
|
|
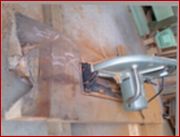
Cut the wood.
|
|
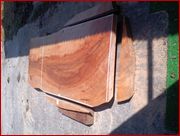
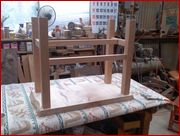
Fixing legs to the table top. It is much easier to fix three legs.
The more legs you have, the easier it is for them to be wobbly.
(It also matters if the floor is really flat or not.)
|
|
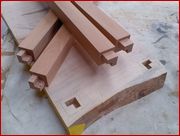
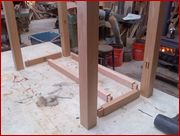
Although a rectanglar groove may be sufficient,
an L shaped groove like in the photograph, may be used.
It depends on where the most weight will be focused.
|
|
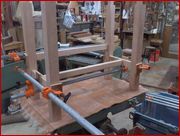
A diagonal or parallel brace is put in so that the weight from all
directions can be borne.
|
|
Furthermore, adhesives are applied.
Clamps are attached so that the form will not change until the adhesives dry.
|
|
And the legs are attached to the table top with adhesives.
|
>
|
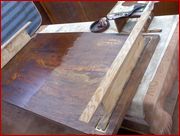
From here, we enter the finishing stage.
Japanese lacquer is applied; in this case, 5 or 6 coats.
The more coats, the more gloss.
Since this is also peoples' preference oil finish may be used instead.
|
|
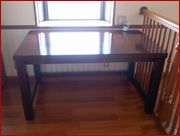
This table was installed in the purchaser's residence.
|
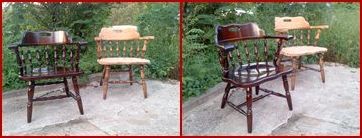
Old furniture can also be restored
|
|
Do not give up.
They look as new, don't they?
Please contact me before you throw them away. There may be some chance to be reborne.
|
|